A Level 2 charger is a 240-volt appliance on its own circuit, so it belongs on the garage plan alongside the door opening and the workbench. The U.S. Department of Energy’s Alternative Fuels Data Center estimates that Level 1 charging from an ordinary 120-volt outlet adds about 5 miles of range per hour, while Level 2 adds about 25. Eight hours on Level 1 gets you roughly 40 miles, which covers a short commute and very little else.
Most Level 2 planning comes down to four numbers: the charger’s amperage, the circuit that feeds it, the spare capacity in your electrical panel and the length of the charging cable. Settle those on paper and the rest of the layout follows.
- Start with the panel, not the wall
- Find the charge port before you pick a wall
- Make the charger part of the wall composition
- Plan the conduit run before drywall and cabinetry
- Leave room for a second EV
- Choose hardwired or NEMA 14-50 by use case
- Check permits and the locally adopted code
- Final garage EV charger planning checklist
- FAQ
This article starts where product selection ends, with the garage plan. In my industrial-design work, I treat the charger, conduit, cable, cabinets and lighting as one service-wall composition, and that is the approach this guide follows.
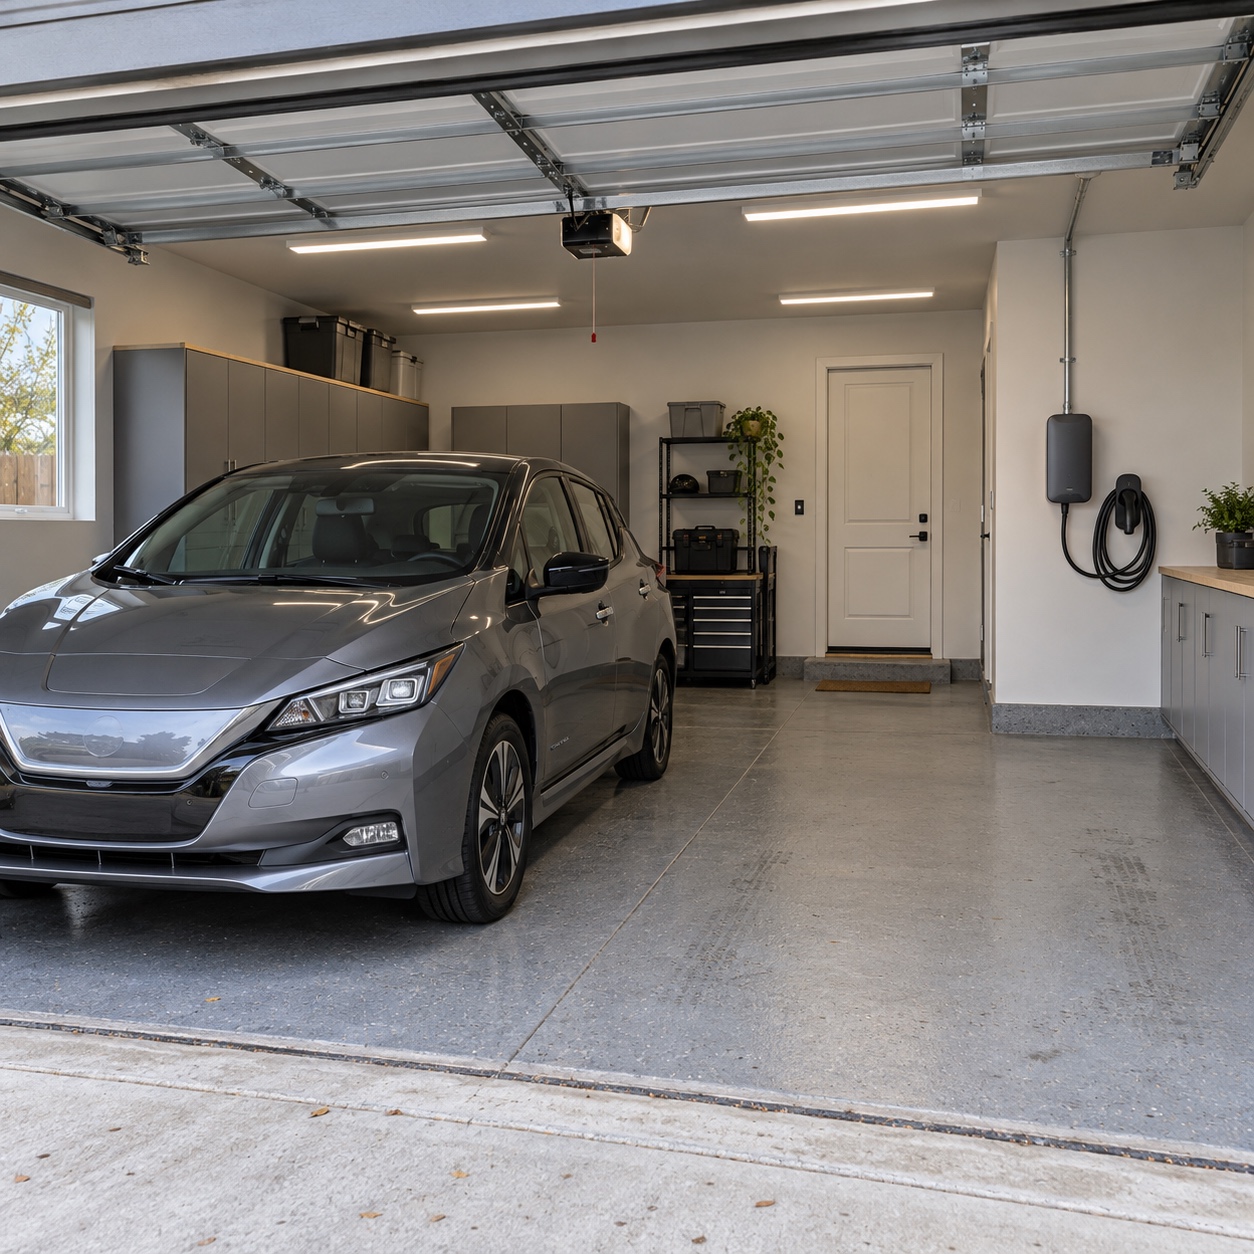
Start with the panel, not the wall
The charger’s location depends on what your electrical service can supply, so the panel comes first. Wall placement sits downstream of capacity, routing and protection, which is a practical example of why electrical expertise in interior design has to enter the process before finishes are chosen.
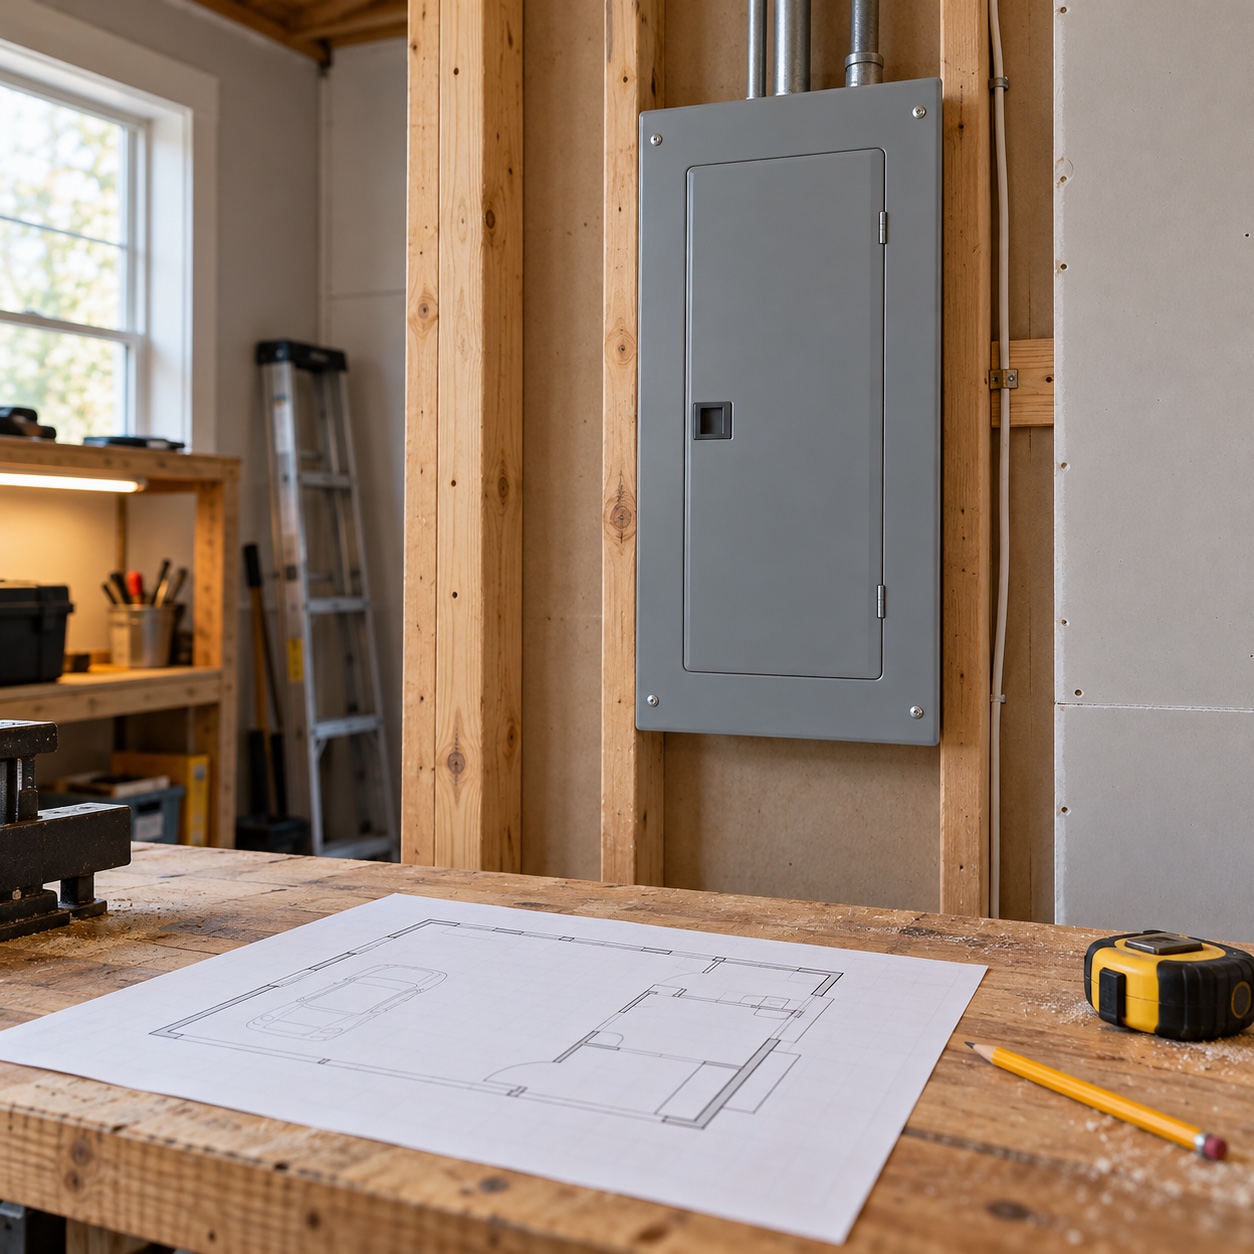
The NEC sections cited throughout this guide apply under editions that include them. Section numbers and requirements vary between editions, so confirm each one with your electrician and your authority having jurisdiction.
Calculate the circuit before choosing finishes
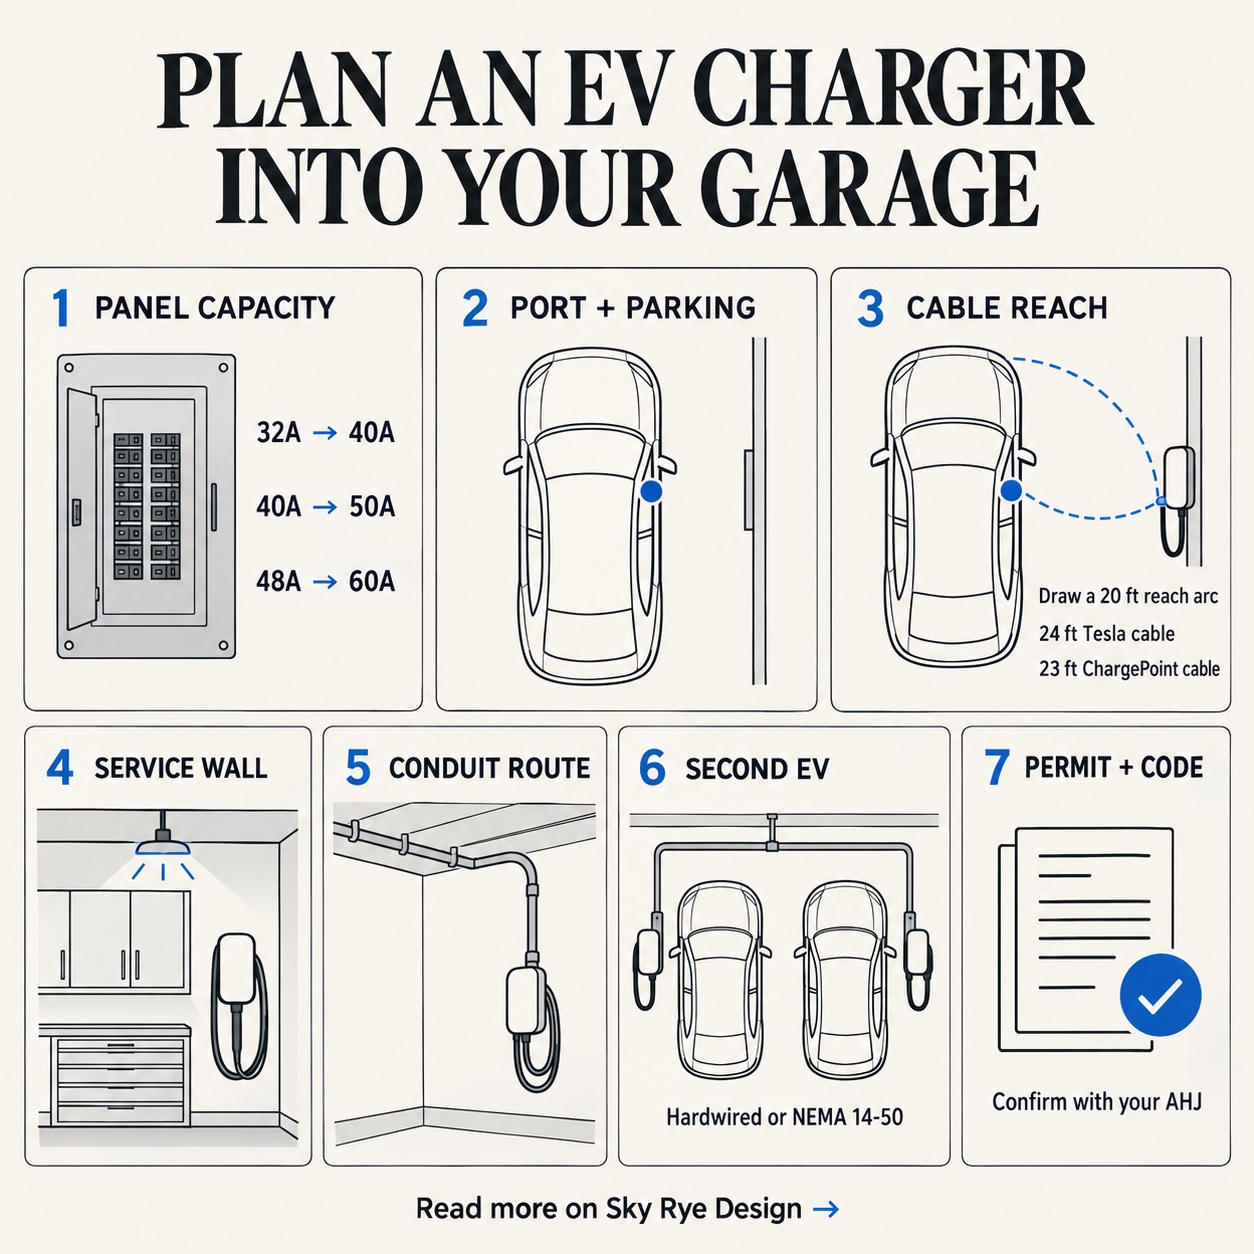
The National Electrical Code (NEC) treats EV charging as a continuous load. The circuit’s overcurrent protection is sized at 125% of the charger’s maximum output (sections 625.41 and 625.42), and 625.40 calls for a dedicated branch circuit with no other outlets on it.
| Charger output | Typical breaker size at 125% |
|---|---|
| 32 amps | 40 amps |
| 40 amps | 50 amps |
| 48 amps | 60 amps |
Whether the house can carry that circuit is a separate question. For an existing home, the NEC offers two methods: a calculated load (220.83) or a figure based on a year of measured peak demand from utility records (220.87). The measured method multiplies the past peak by 1.25, adds the new charger at its full rating, and requires the total to stay at or under the service size.
Run that with a 40-amp charger and the difference between services becomes obvious. On a 200-amp service, the existing measured peak can reach 128 amps, because (200 − 40) ÷ 1.25 = 128. On a 100-amp service, the ceiling drops to 48 amps, because (100 − 40) ÷ 1.25 = 48.
When you collect quotes from EV charger installation experts, ask each one which calculation it ran and what existing load it assumed. Two quotes that disagree about a service upgrade often started from different numbers.
Use load management before assuming a service upgrade
A tight panel doesn’t always mean a new service. Section 625.42 allows an automatic load management system to set the charger’s demand, so a listed device can turn the charger down while the dryer or heat pump runs.
Chargers are built for this flexibility. Tesla’s Wall Connector installation literature lists a range of breaker settings, topping out at 48 amps of output on a 60-amp breaker, so the same unit can run at a lower output on a smaller circuit. Check the current manual for your model, since supported settings can differ between hardware versions.
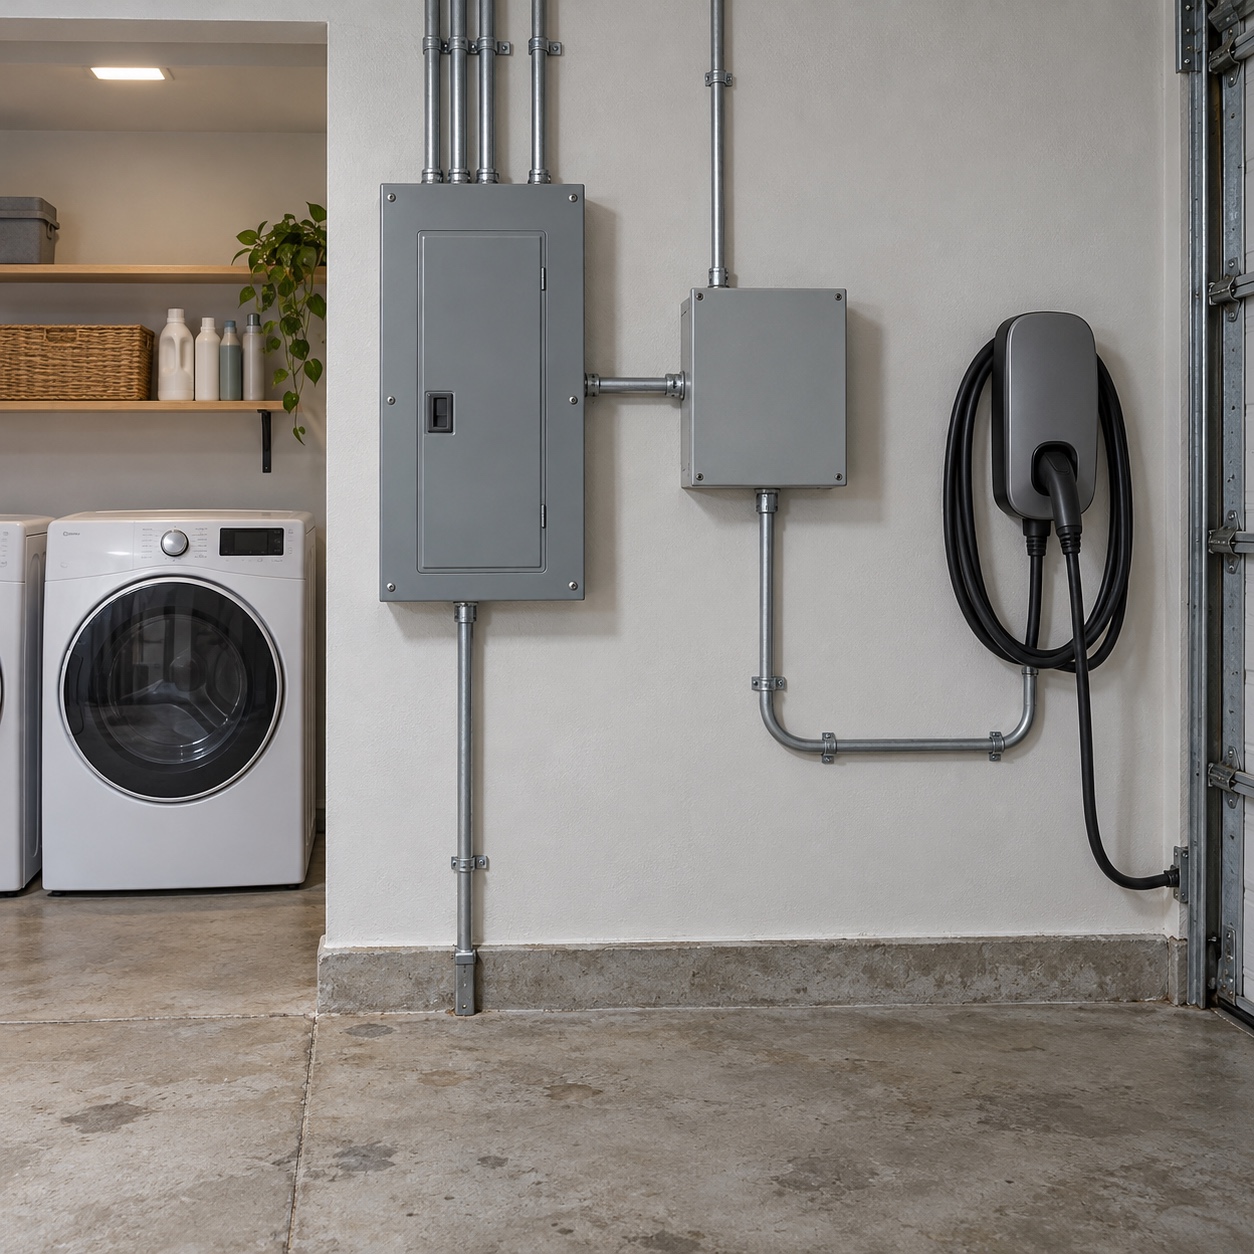
Find the charge port before you pick a wall
The car’s charge port decides which wall can take the charger. Teslas typically have theirs at the rear corner on the driver’s side, and many other models put the port on a front fender. Check your owner’s manual, then settle whether you back in or pull in nose-first. That one habit moves the port from one end of the bay to the other.
Draw the cable reach arc on the garage plan
Cable length sets your margin. The NEC limits the usable output cable to 25 feet unless the charger has a listed cable management system (625.17(C)). Tesla’s Universal Wall Connector literature specifies a 24-foot cable, and the ChargePoint Home Flex supports a 23-foot cable. ChargePoint’s installation guide asks for a location where the cable reaches the port “while still providing slack,” and Tesla’s warns against “putting strain on the cable.”
To test a location, draw the car at full scale on your garage plan in its usual parking spot, mark the port, and swing a 20-foot arc from it. Any wall inside that arc can take the charger with a few feet to spare. Those spare feet cover parking slightly off-center, a future car with its port somewhere else, and the slack both manufacturers ask for.
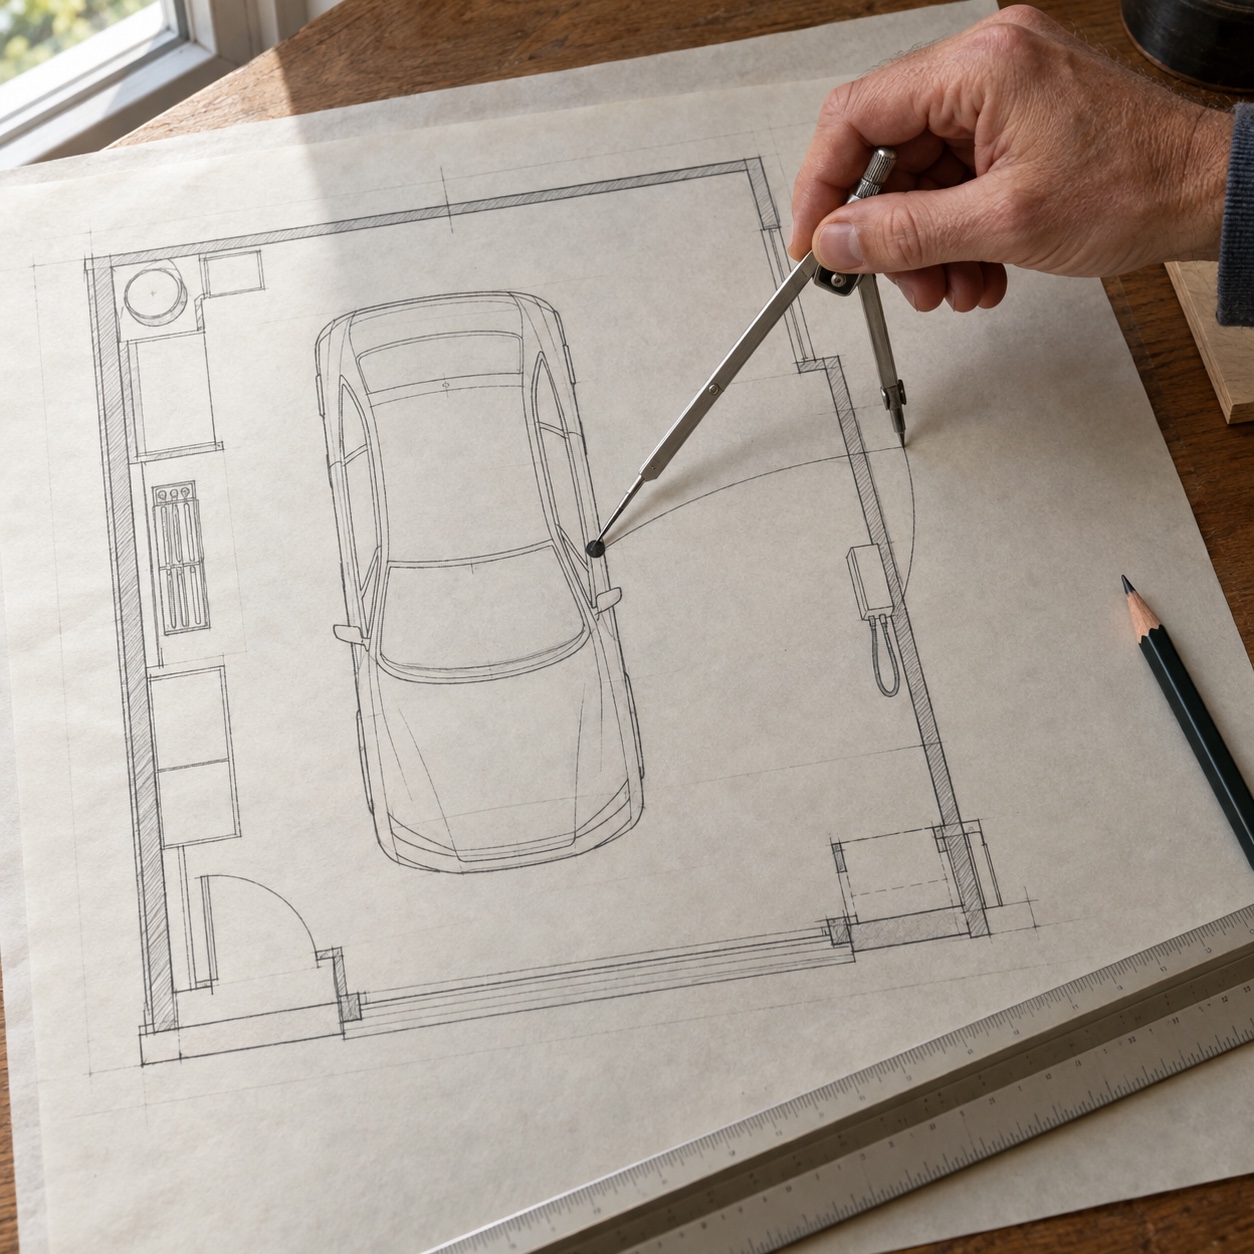
Keep the charging path out of circulation and storage zones
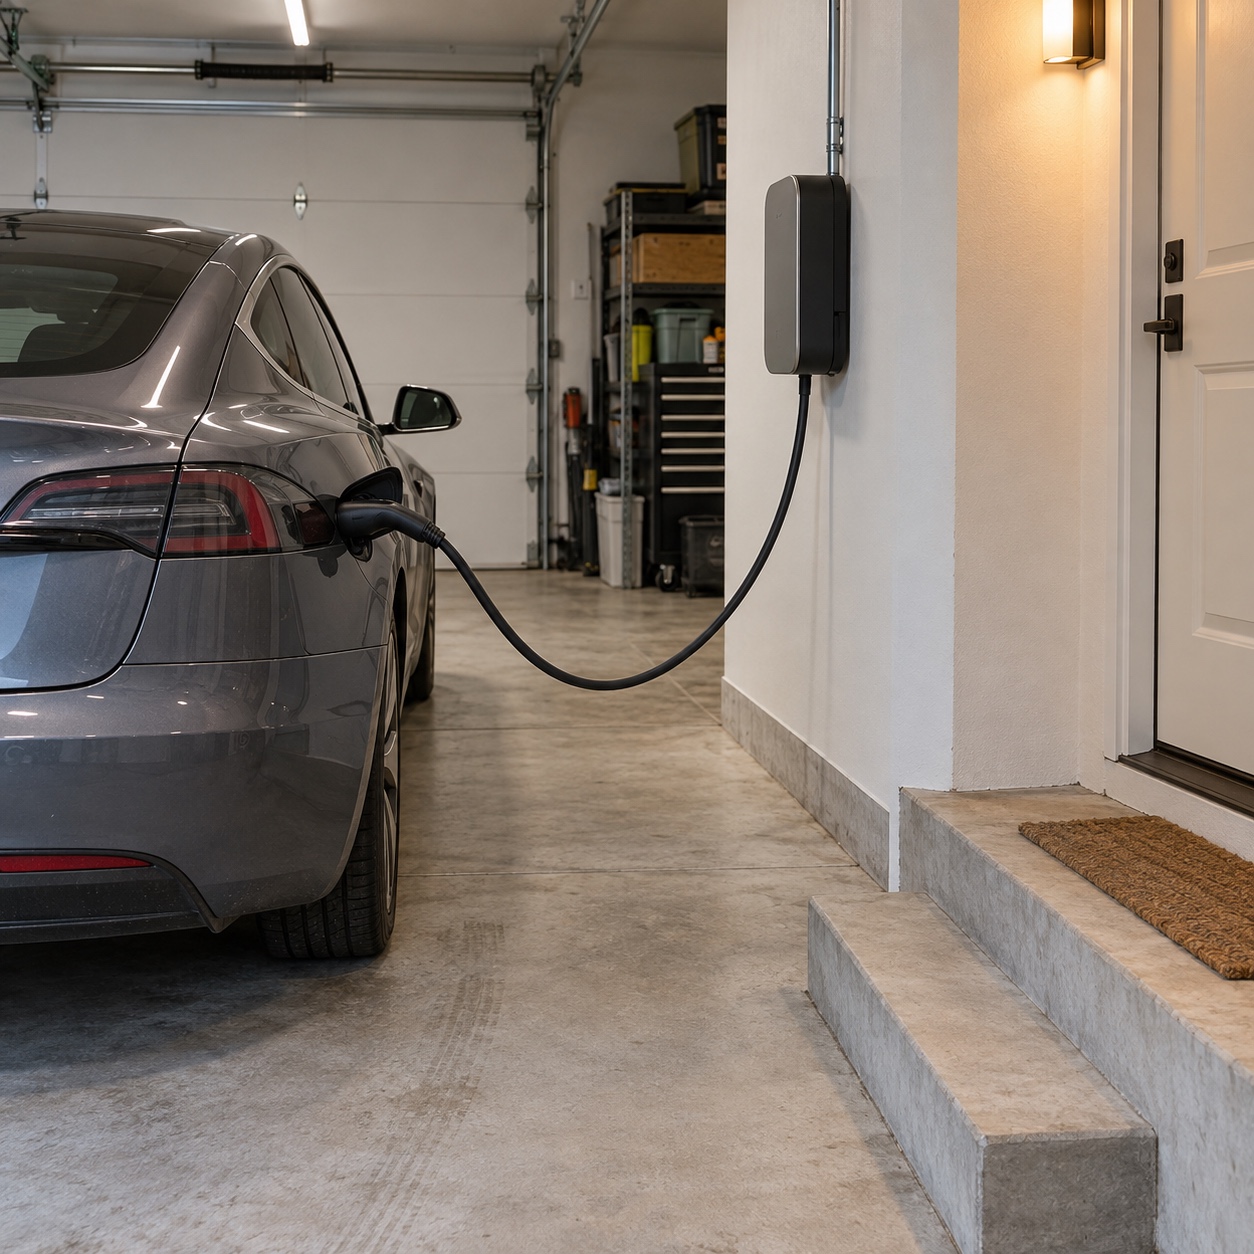
The side wall nearest the port is usually the best choice. From there, the cable stays out of the path to the house door and off the floor where a tire could roll over it. Trace the line from charger to port on your plan and look at everything it crosses: door swings, walkways, the trash and recycling corner, the bike rack.
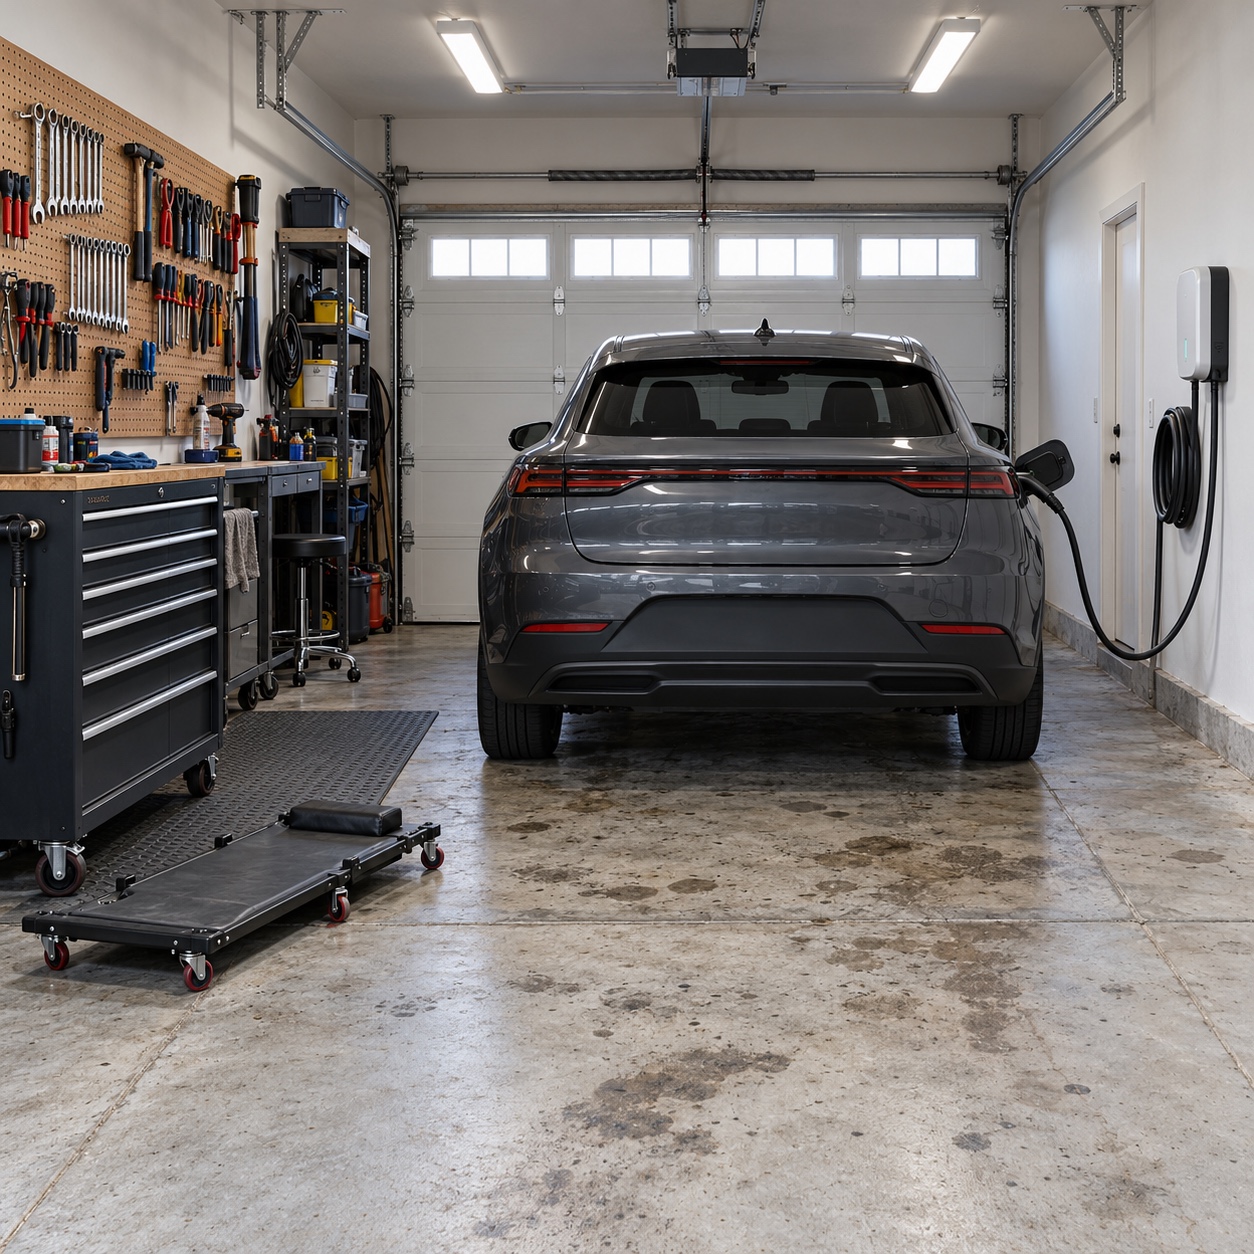
If the same bay also supports maintenance, coordinate the cable route with the garage workshop layout so the charger does not consume the inspection zone or tool wall. A cable draped across a creeper’s path, or a charger mounted where a tool chest needs to open, takes a minute to catch on paper and a weekend to fix later.
Make the charger part of the wall composition
A charger looks like clutter when it is placed alone and like equipment when the wall is designed around it. Once the circuit and cable reach are settled, draw the charger on a wall elevation together with its conduit, the cable storage, nearby cabinets and the lighting.

Wall mount, pedestal and mounting height
A wall mount is the default in an enclosed garage. Tesla’s Wall Connector manual recommends a mounting height of about 45 inches, with a maximum of 60 inches and a minimum of 18 inches indoors (24 inches outdoors). The 18-inch indoor minimum traces to NEC 625.50 and keeps the connector off the floor, away from feet and standing water. Once the height is confirmed for your model, mark a stud or blocking at that height on the framing plan.

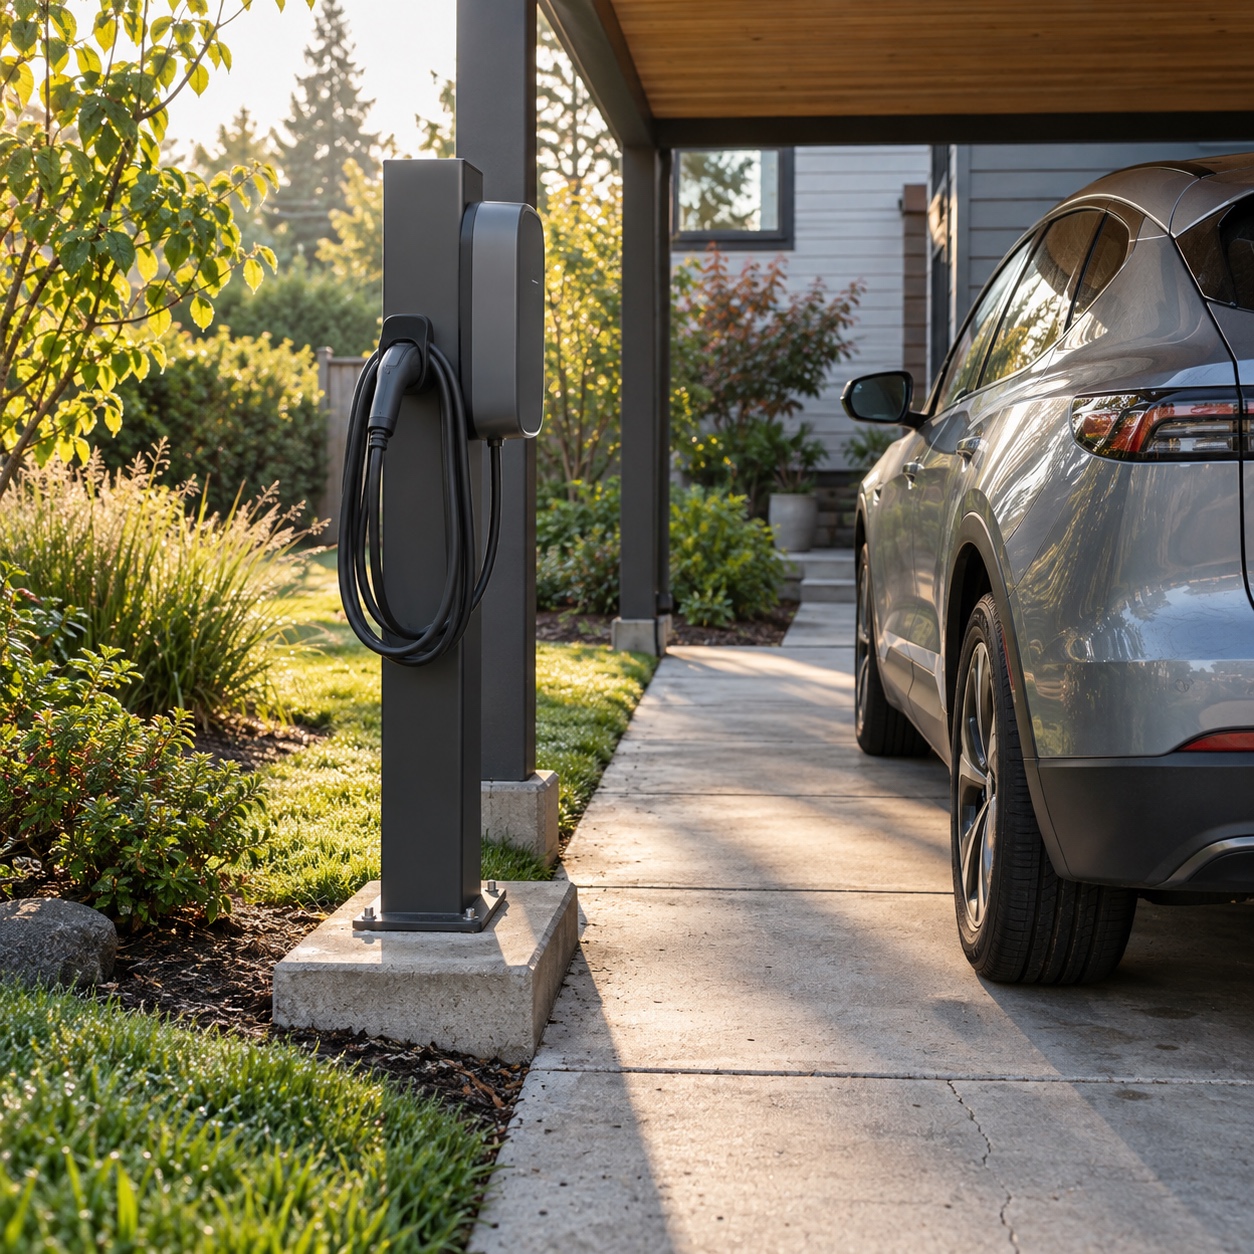
A pedestal makes sense when the car parks on a driveway, under a carport, or in the middle of a wide garage with no wall in reach. Tesla allows its unit on “any flat, vertical surface,” pedestals included. The harder part is the feed. A freestanding post outdoors usually means a trench, and NEC Table 300.5 sets minimum cover depths by wiring method, such as 18 inches over PVC conduit or 6 inches over rigid metal conduit.
| Mounting option | Best fit | Main planning issue |
|---|---|---|
| Wall mount | Enclosed garage with a wall inside cable reach | Blocking, height, conduit route |
| Pedestal | Driveway, carport or wide open bay | Underground feed and trench depth |
Coordinate conduit, cabinets, lighting and cable storage
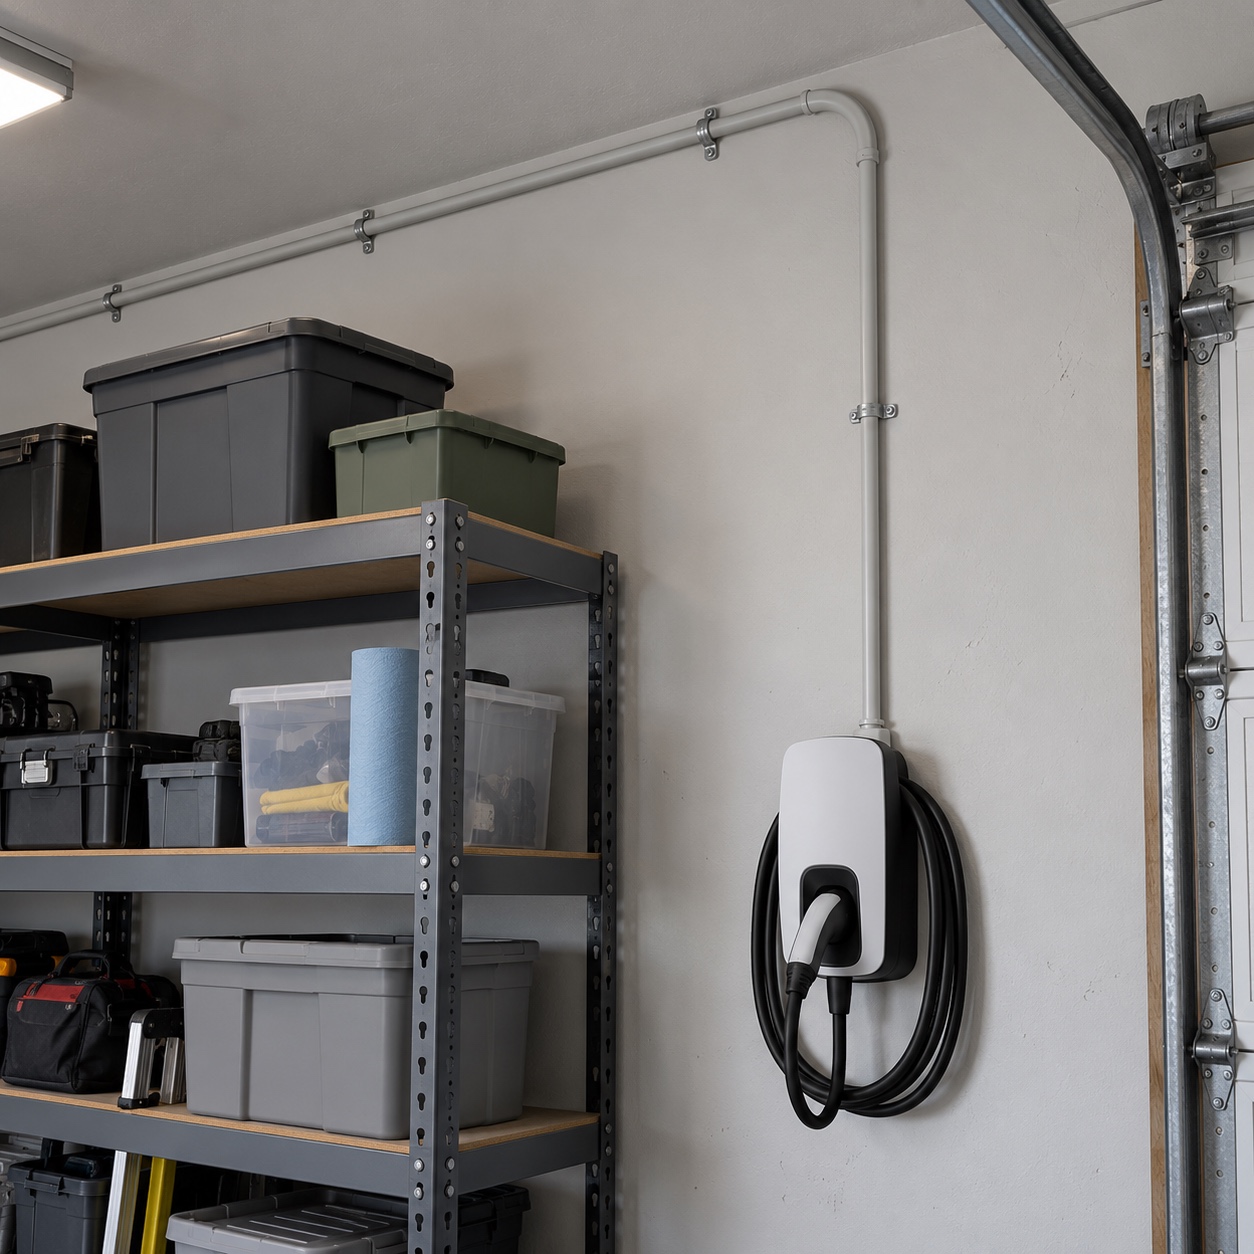
Give the charger a reference line, such as the top of the base cabinets, the bench height or the centerline of the bay. A unit floating at an arbitrary height reads as an afterthought, even when it was installed correctly. Exposed conduit is part of the drawing too. Run it straight, level and plumb with as few bends as practical, and either paint it to match the wall or pick a finish that relates to the charger housing.
A few more details belong on the elevation:
- A holster or hook placed so the connector goes back without stepping into the walkway, with the coiled cable clear of cabinet doors and drawer fronts
- A light fixture over the charging side of the car, so plugging in at night doesn’t happen in the vehicle’s shadow
- Open space in front of the charger and the electrical panel, kept free of shelving and stored items, with the panel’s required working clearance confirmed by your electrician
For a more display-led room, these garage designs for car enthusiasts show how storage, lighting and circulation can read as one composition rather than separate upgrades.
Plan the conduit run before drywall and cabinetry
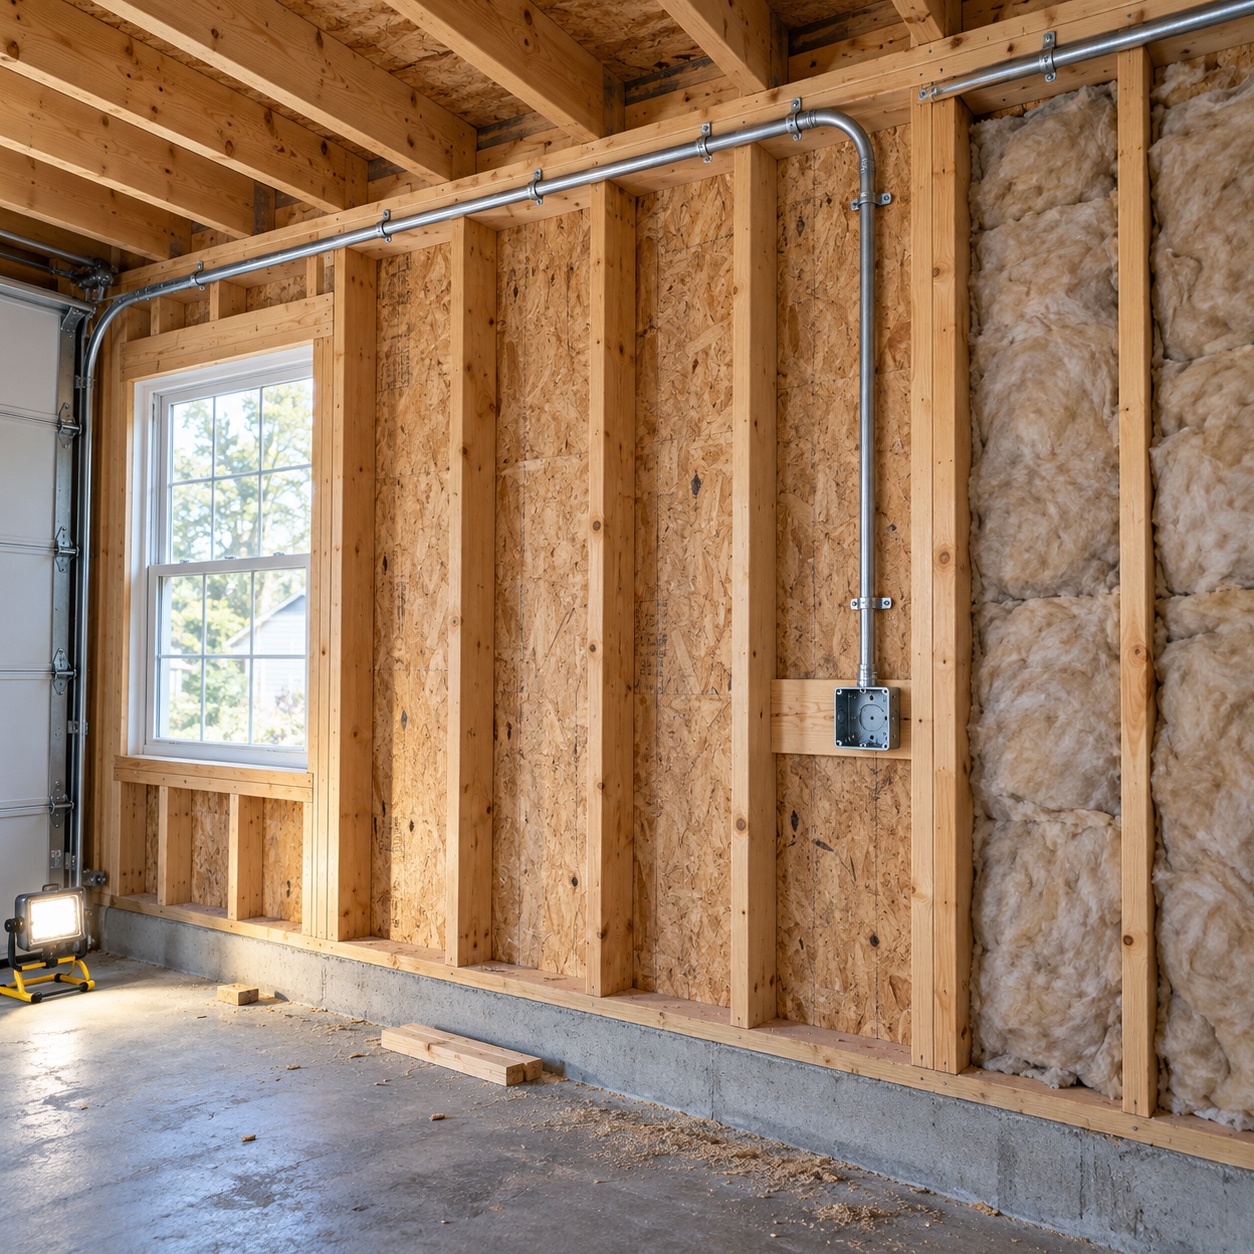
The route from panel to charger affects both cost and the finished look, so fix it before the walls close. The AFDC notes that labor is the largest expense in a typical installation, and the distance from the panel to the charger drives much of that labor. Plan the charger feed alongside the other utility upgrades to decide before the walls close, at the same stage as rough plumbing and lighting circuits.
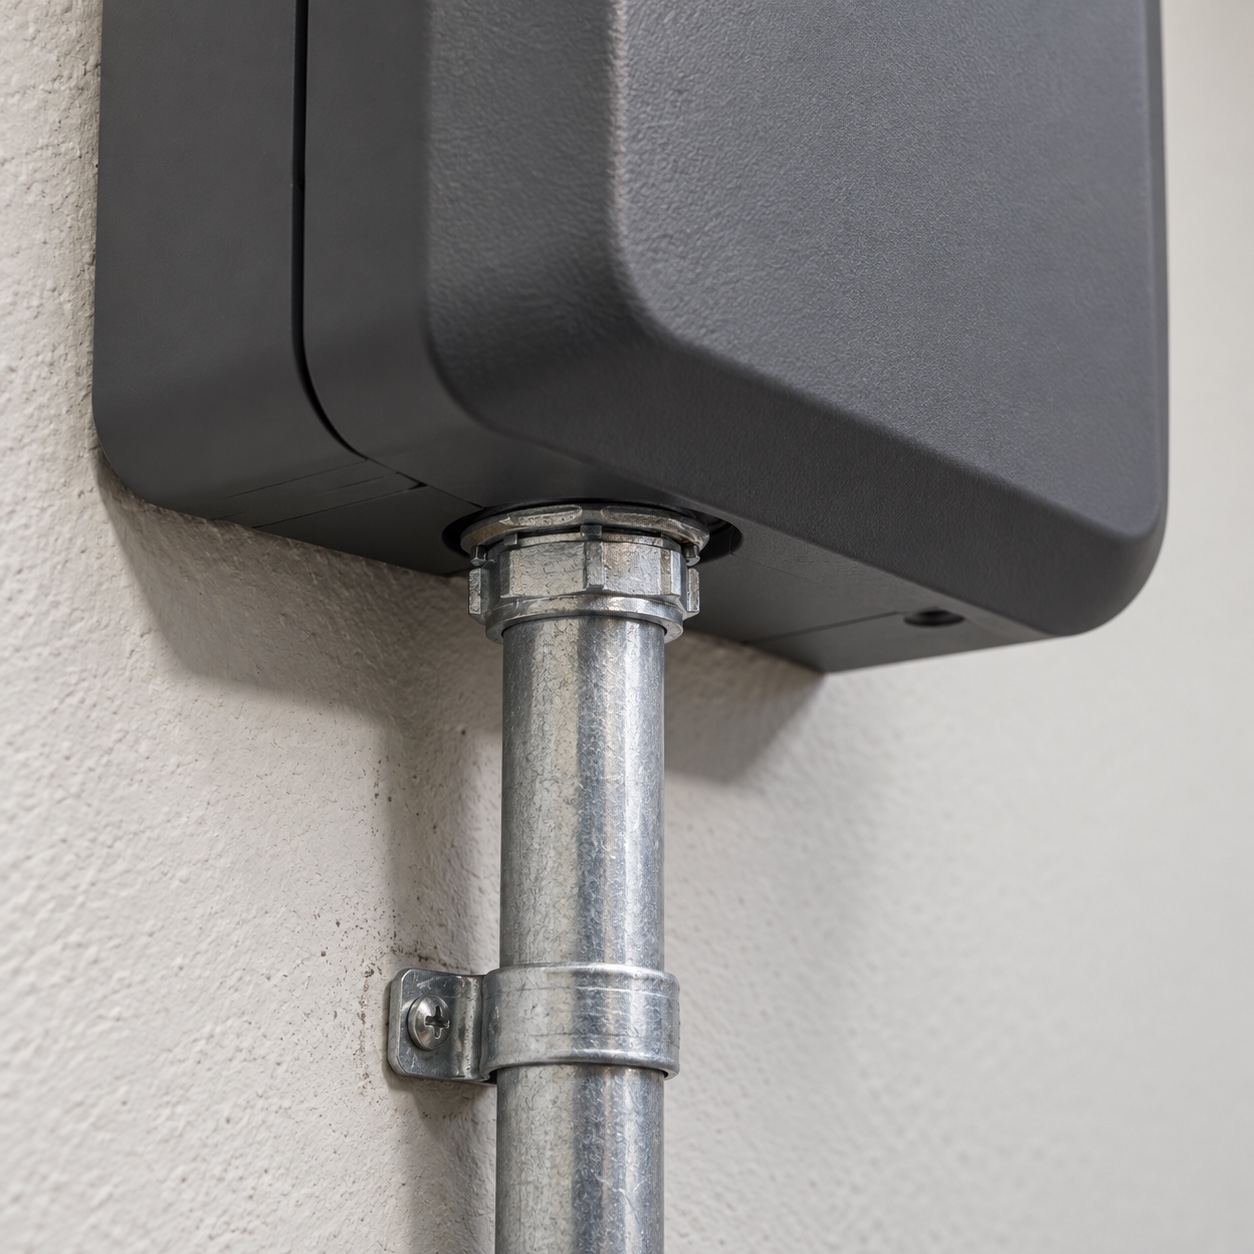
Conductor and conduit sizes depend on the unit and the circuit. Tesla’s Wall Connector manual, for example, specifies at least 6 AWG copper with a 75°C-rated breaker, or 4 AWG with a 60°C-rated breaker, for 48 amps on a 60-amp circuit. Its wirebox accepts 3/4-inch conduit by default and 1-inch as an option.
In a finished garage, cable can run inside the walls. Where wiring is exposed and could take a hit from a bumper or a ladder, the NEC requires nonmetallic cable to be protected (334.15(B)), which is one reason exposed garage runs are often in EMT, the thin-wall metal conduit. A run along the ceiling and straight down to the charger stays clear of shelving. A run at bench height will collide with a pegboard or wall-hung storage.
Leave room for a second EV
A second electric car is mostly a panel question, and the first installation is the cheapest time to prepare for it. Two 40-amp chargers on separate 50-amp circuits add 80 amps to the 220.87 calculation, which pushes many 200-amp houses over the limit.
Load sharing is the usual answer. Tesla says its Group Power Management feature supports up to six Gen 3 Wall Connectors on one branch circuit, dividing the available current among the cars plugged in. Two cars charging overnight can share a single 60-amp circuit this way.
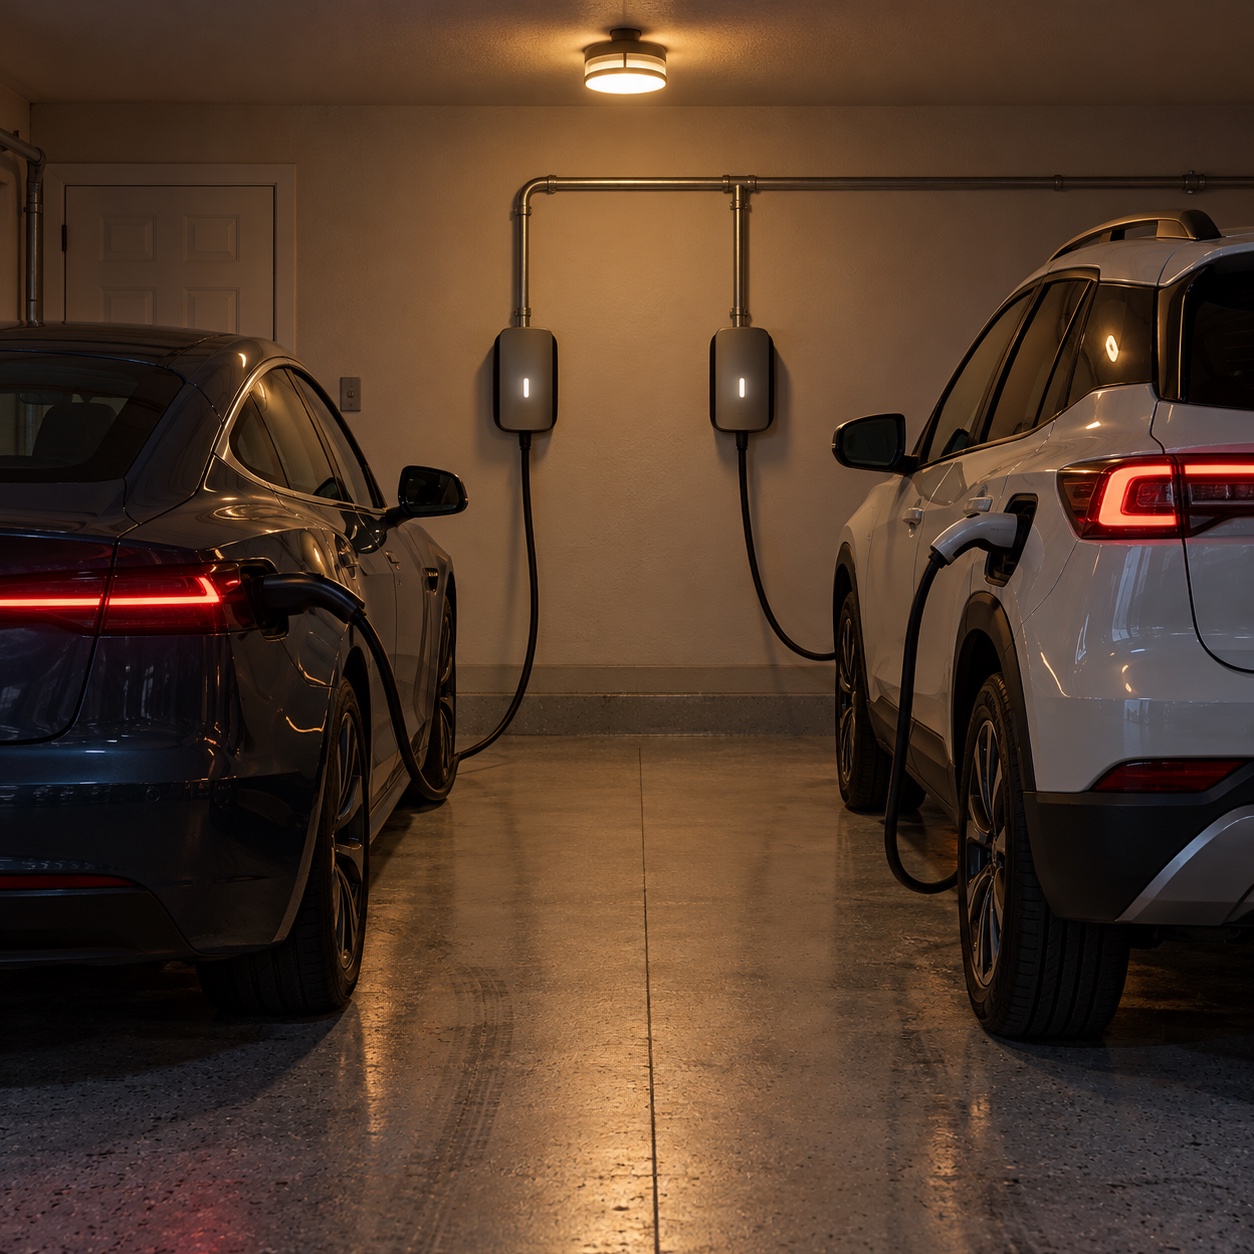
If the second car is a few years off, install a larger conduit to the second bay now, or one sized for both circuits. Two wall units, each fed by a short vertical drop from a shared horizontal conduit, look like one planned system on the elevation instead of two jobs done years apart.
Choose hardwired or NEMA 14-50 by use case
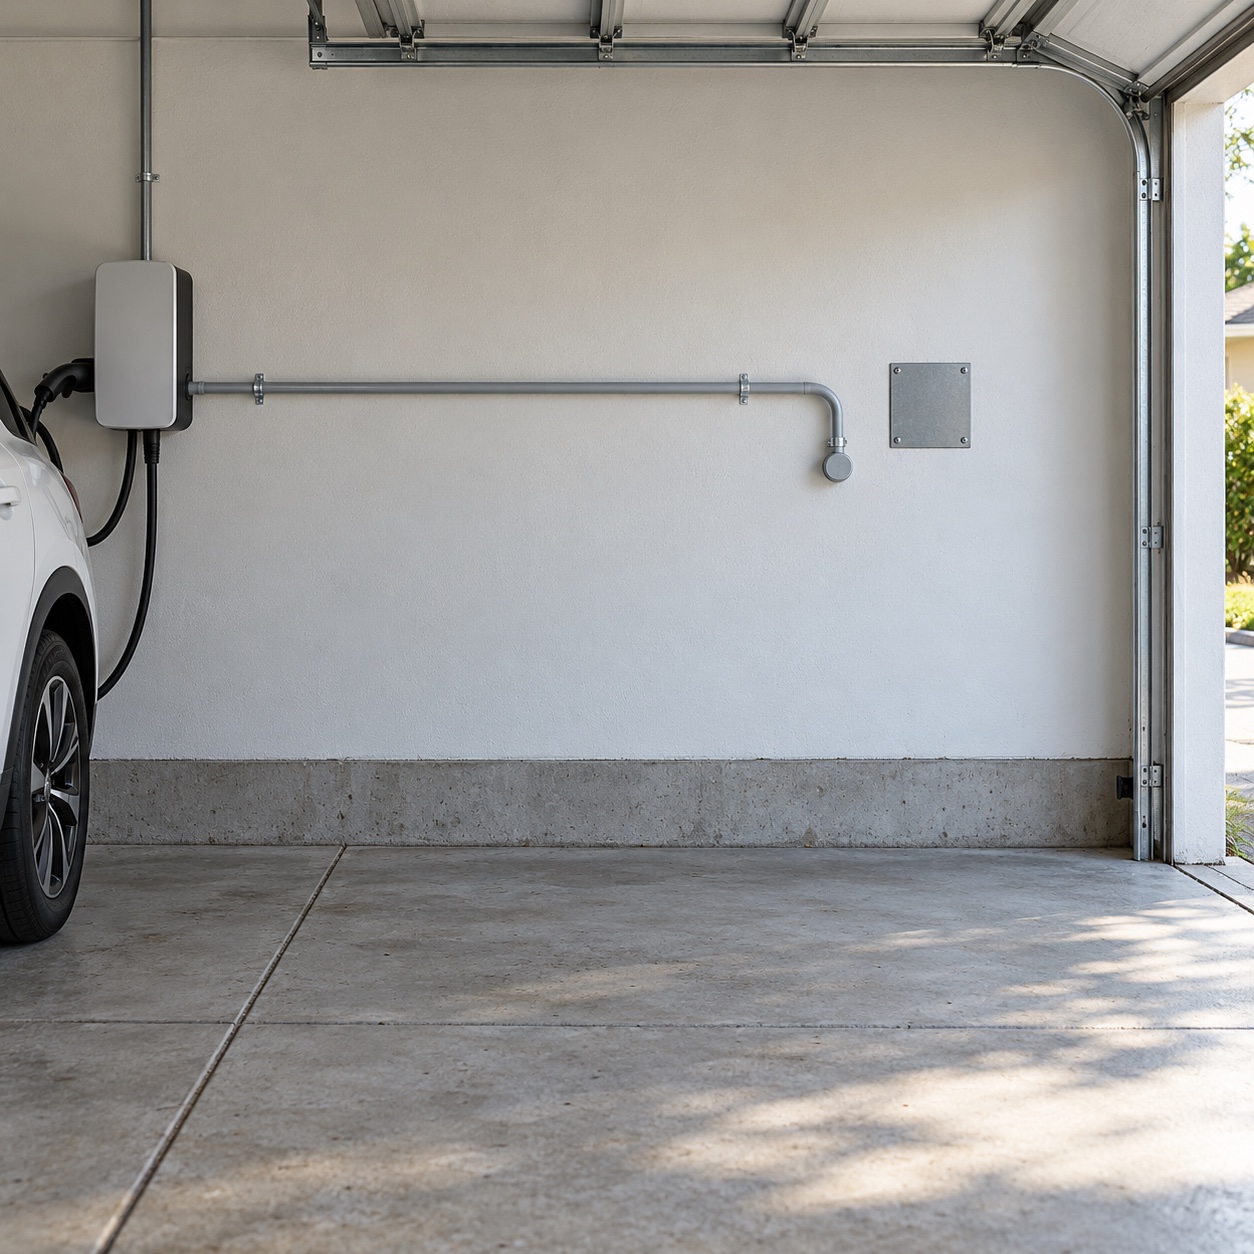
If the unit itself is still undecided, compare the hardware and output options in our guide to choosing a home EV charger. For the installation itself, hardwiring suits a permanent garage design. A NEMA 14-50 receptacle suits renters and anyone who expects to change chargers. The 14-50 is the four-prong 50-amp outlet used for ranges and RVs, and on a 50-amp circuit it limits charging to 40 amps. ChargePoint supports plug-in Home Flex configurations on 40- or 50-amp circuits and requires hardwiring for higher outputs. Tesla’s Wall Connector is hardwired only.
| Factor | Hardwired | NEMA 14-50 plug-in |
|---|---|---|
| Maximum output | Up to the charger’s rated maximum | 40 amps on a 50-amp circuit |
| Portability | Stays with the house | Unplugs and moves with you |
| GFCI breaker | Follow manufacturer instructions and locally adopted code | Often required for receptacles under recent editions; verify locally |
| Placement | Anywhere the conduit can reach | Receptacle must sit close to the unit |
| Best fit | Permanent garage design | Rentals, frequent equipment changes |
Plug-in setups carry two code complications. Since the 2020 NEC, 625.54 has required GFCI protection on receptacles installed for EV charging, so a 14-50 in the garage usually means a 50-amp GFCI breaker. ChargePoint warns that a GFCI breaker can cause nuisance tripping and recommends hardwiring if local code requires one for a plug-in installation. Tesla’s manual says not to install a GFCI breaker ahead of its Wall Connector.
The cord is the second issue. When a charger’s ground-fault protection sits inside the unit, 625.17 limits its power-supply cord to 12 inches, so the receptacle has to sit right beside the mounting spot. ChargePoint suggests placing it 20 to 26 inches above the floor. Draw the charger and receptacle on the same elevation so the spacing is settled before the box goes in.
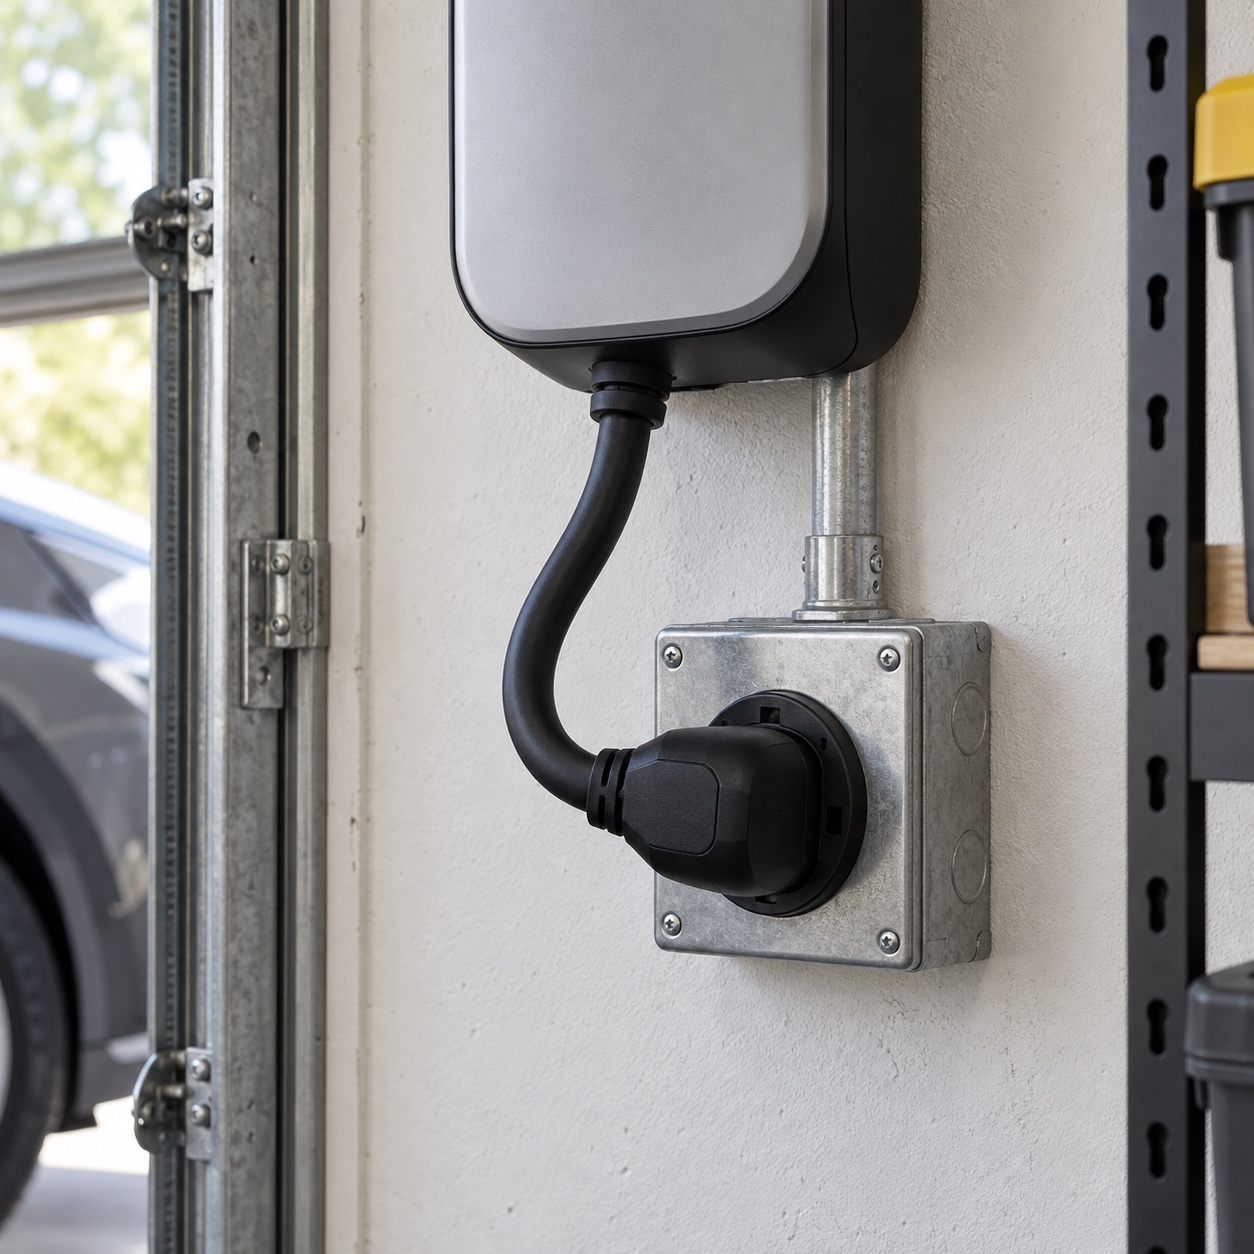
A 14-50 also carries a neutral that most chargers never use, since the ChargePoint and Tesla units wire as two hot conductors plus ground. If you go with a receptacle, ChargePoint’s guide calls for an industrial-grade outlet, ideally one with a high torque specification on its terminals.
Check permits and the locally adopted code
Permit requirements and the applicable NEC edition vary by state and municipality, so confirm both with your authority having jurisdiction (AHJ) and a qualified licensed electrician before work starts. The AFDC says charger installations must comply with state and local codes and be performed by a licensed electrical contractor, who pulls the permit.
Two Northeastern states show how adoption dates shift. Connecticut’s 2022 State Building Code adopts the 2020 NEC. The 2026 code, which would move the state to the 2023 edition, was expected to take effect July 1, 2026, and Connecticut’s official code adoption page still lists that date as delayed while approval is pending. In New York, the 2025 Uniform Code took effect December 31, 2025, and permit applications filed from that date must comply with it. Recheck the status with your local building department before applying, since either situation can change.
Show the charger and its conduit route on the drawing you submit, and ask the building department which NEC edition the inspector will use.
Final garage EV charger planning checklist
- ☐ Charger output chosen and breaker sized at 125% of that output
- ☐ Panel capacity checked by the calculated or measured method, with the method noted on each quote
- ☐ Load management considered before a service upgrade
- ☐ Charge port marked on a full-scale plan, with parking direction decided
- ☐ 20-foot reach arc drawn and a wall chosen inside it
- ☐ Cable path clear of doors, walkways, storage and workshop zones
- ☐ Mounting height confirmed against the manual, with blocking marked on the framing plan
- ☐ Conduit route drawn before drywall and cabinets, with exposed runs protected
- ☐ Lighting, cable storage and service access shown on the wall elevation
- ☐ Second-bay conduit or load sharing planned
- ☐ Hardwired or NEMA 14-50 decided, with GFCI and cord-length implications noted
- ☐ Permit pulled and code edition confirmed with the AHJ
FAQ
What size breaker does a 40-amp EV charger need? EV charging is treated as a continuous load, so the circuit is sized at 125% of the charger’s output. A 40-amp charger typically goes on a 50-amp breaker. Confirm the sizing with your electrician under your locally adopted code.
Where should an EV charger go in a garage? Usually on the side wall nearest the car’s charge port. Draw a 20-foot arc from the port on your plan and pick a wall inside it where the cable won’t cross walkways or lie on the floor.
Do I need a service upgrade to add a second EV charger? Not always. Two separate 40-amp chargers can push many 200-amp services past the limit, but load management or a shared-circuit setup such as Tesla’s Group Power Management can let two chargers run on one circuit. Your electrician can run the load calculation for your house.
Should I hardwire my EV charger or use a NEMA 14-50 outlet? Hardwire it for a permanent garage design and the charger’s full rated output. A NEMA 14-50 works for renters or people who plan to switch chargers, but it caps output at 40 amps and often requires a GFCI breaker. ChargePoint recommends hardwiring when local code requires that breaker for a plug-in installation.
- 0shares
- Facebook0
- Pinterest0
- Twitter0
- Reddit0