Ever looked at a building and just wanted to capture it on paper? It’s not as hard as it sounds. Drawing buildings, or architecture, is a skill you can totally learn. Whether you’re just starting out or have been doodling for a while, getting a handle on how to draw in architecture can make your sketches pop. This guide is here to break it all down, making the process less intimidating and more fun. We’ll look at ways to get started, some cool drawing tricks, and how to just get better overall.


Key Takeaways
Figure out the best way to set up your drawing space and what tools you’ll need.
Learn why having good reference photos is important and how to pick them.
Explore different methods for getting your reference image onto paper, like using a grid or drawing freehand.
Practice techniques to make your drawings look real with shading, texture, and light.
Work through projects step-by-step to build your skills with different kinds of drawings.
How to learn architecture drawing?
Learning to draw in architecture is a journey, not a destination. It’s about building a visual language to communicate your ideas about space and form. Start with the basics, and don’t be afraid to make mistakes; they’re part of the process.


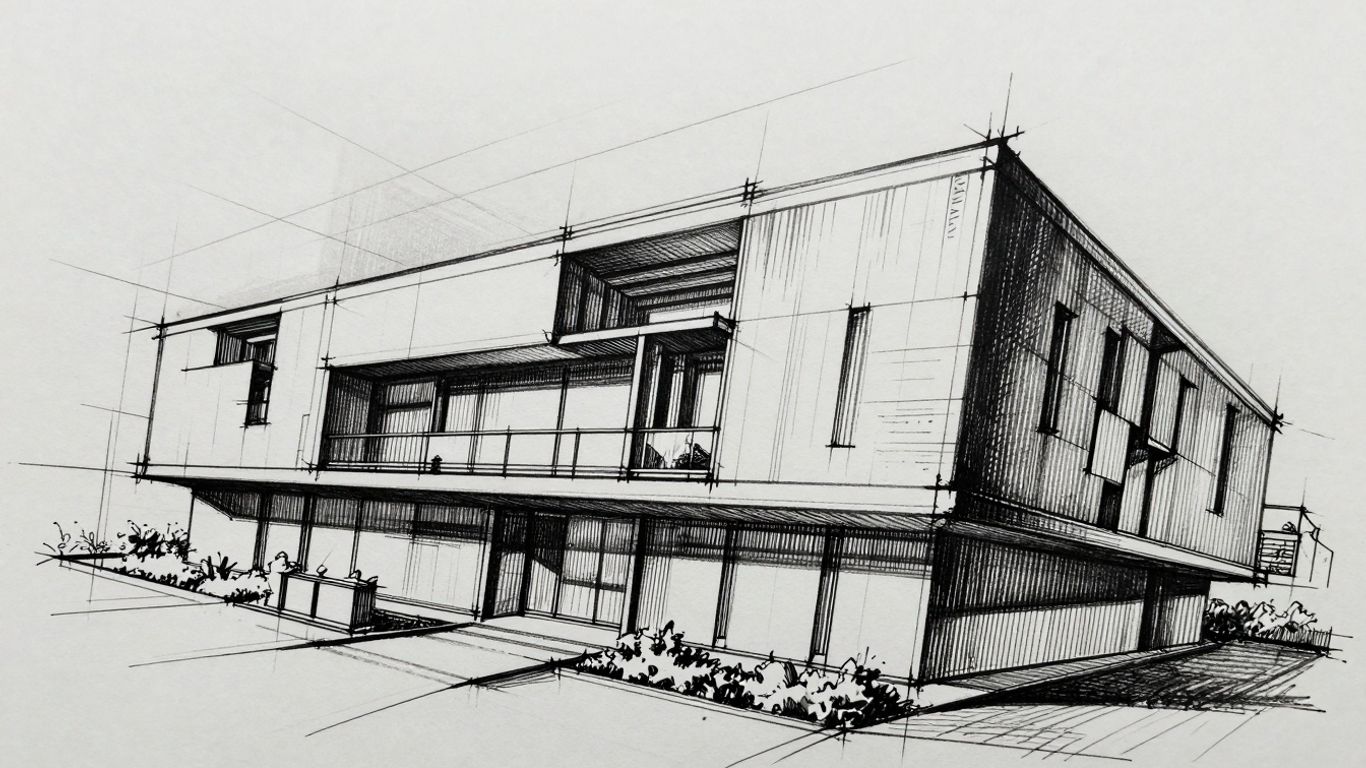
Think of it like learning a new language. You wouldn’t start with complex poetry, right? You’d begin with simple words and phrases. The same applies here. Focus on mastering fundamental shapes like cubes, spheres, and cylinders. Understanding how these basic forms interact in three-dimensional space is key to drawing anything more complex, like buildings.
Here’s a breakdown of what to practice:
Geometric Shapes: Get comfortable drawing cubes, cones, and spheres from different angles. This builds your understanding of perspective.
Architectural Elements: Practice drawing doors, windows, stairs, and simple roof structures. This helps you grasp how buildings are put together.
Perspective: Learn one-point and two-point perspective. This is how you make flat drawings look like they have depth. There are some great resources online to help you get started with perspective drawing.
Shading and Line Weight: Experiment with how light hits surfaces and how different line thicknesses can show depth and focus.
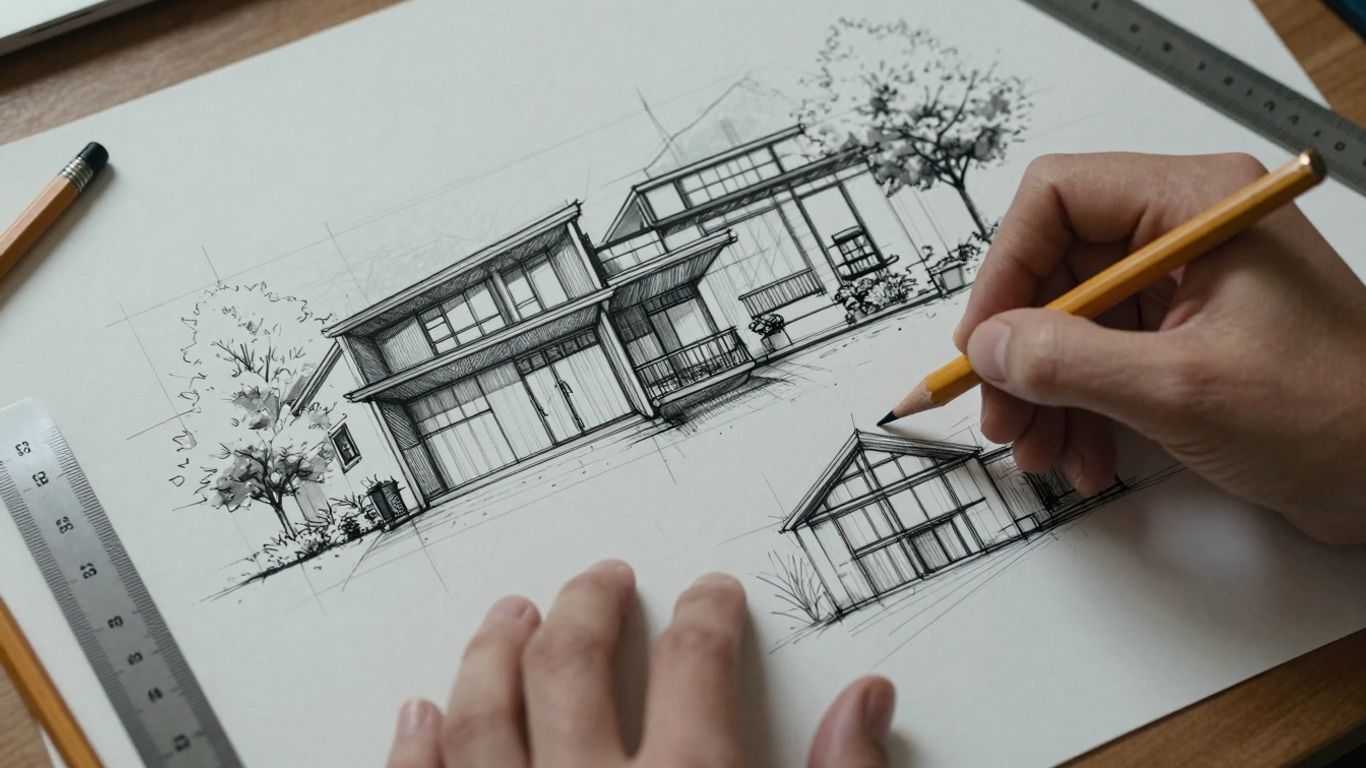
Don’t just draw from imagination at first. Try sketching existing buildings around you or from photos. This helps you see how real-world structures are proportioned and detailed. It’s also a good idea to include people or trees in your sketches to give a sense of scale.
The goal isn’t to create perfect, photorealistic renderings right away. It’s about developing your ability to see, interpret, and represent three-dimensional objects on a two-dimensional surface. Speed and fluidity will come with practice.
Consider picking up a good book on architectural drawing. Many offer step-by-step guides that can really help clarify concepts. You’ll find books that cover everything from basic drafting conventions to more advanced illustration techniques. Finding the right book can make a big difference in your learning curve.
What is the 4 8 8 method of drawing?
So, you’ve heard about the “4 8 8 method” for drawing, huh? It’s not some secret handshake for architects, but more of a structured approach to sketching, especially when you’re trying to get a design down quickly and effectively. Think of it as a way to break down the drawing process into manageable chunks, making it less intimidating.
The core idea is pretty straightforward. You spend a set amount of time on different stages of the drawing. The “4 8 8” usually refers to minutes, but honestly, you can adapt the timings to fit your needs. It’s all about pacing yourself and focusing on specific goals within each time block.


Here’s a general breakdown of how it might work:
First 4 Minutes: The Quick Sketch. This is all about capturing the main idea, the overall form, and the basic layout. Don’t worry about details here. Just get the essence of your design onto the paper. Think big shapes and general proportions.
Next 8 Minutes: Developing the Form. Now you start adding a bit more substance. This is where you refine the shapes, start thinking about massing, and maybe introduce some basic perspective. You’re building on that initial sketch, giving it more volume and presence.
Final 8 Minutes: Adding Detail and Refinement. In this last block, you focus on the finer points. This could mean adding windows, doors, some basic shading to suggest light and shadow, or even a few lines to indicate texture. The goal is to make the drawing more readable and convincing.
This method is fantastic for brainstorming sessions or when you need to quickly visualize multiple ideas. It forces you to make decisions and move forward, rather than getting stuck on one tiny detail for too long. It’s about progress, not perfection, at this stage.
Remember, the numbers are just a guide. The real benefit comes from the discipline of working within time limits. It helps you avoid overworking a sketch and encourages you to keep moving through your ideas. It’s a great way to practice getting your thoughts out fast and clear.
What are the 7 laws of drawing?
You know, when you’re trying to get better at drawing buildings, it feels like there are a million things to remember. But honestly, a lot of it boils down to a few core ideas. Think of them as the “laws” of drawing – not like, actual laws, but more like guiding principles that help your drawings make sense and look good.


These aren’t some secret ancient rules, just common sense stuff that artists and architects have figured out over time. Getting these down makes a huge difference.
Here are some of the big ones:
Line Weight: This is a bit more subtle, but it matters. Using different thicknesses of lines can help show what’s closer and what’s farther away, or what’s in shadow versus what’s lit. Thicker lines often mean something is closer or more important.
Perspective: This is probably the most important. It’s all about making flat paper look like it has depth. You know, making things look like they recede into the distance. Getting your vanishing points and horizon lines right is key here. Without good perspective, your buildings will look wonky, like they’re about to fall over.
Proportion: This is about getting the sizes of things right relative to each other. How big is that window compared to the door? How tall is the building compared to its width? If your proportions are off, the whole thing just feels wrong, even if your lines are clean.
Light and Shadow (Shading): This is what gives your drawings that 3D feel. Where is the light coming from? What parts are in shadow? Understanding this makes your buildings look solid and gives them form. It’s not just about making things dark; it’s about how light hits surfaces.
Composition: This is about how you arrange everything on the page. Where do you put the building? What else is around it? A good composition draws the viewer’s eye to where you want it to go.
Detail: This is about adding the little things that make a drawing look real. Think about window panes, door handles, or the texture of brick. Too much detail can be overwhelming, but too little can make it look unfinished.
Scale: This is related to proportion, but it’s more about showing how big the building is in relation to people or other everyday objects. Adding a tiny figure next to a giant skyscraper really drives home the size.
Honestly, you don’t need to be a math whiz to get these. It’s more about observing the world around you and practicing. Don’t get too hung up on making every single drawing perfect. The goal is to get better over time by paying attention to these basic ideas.
How to draw better as an architect?
So, you want to get better at drawing as an architect? It’s not just about making pretty pictures; it’s about how you see and communicate your ideas. Think of your sketchbook as your second brain, a place where thoughts become tangible.
Here are a few things to focus on:
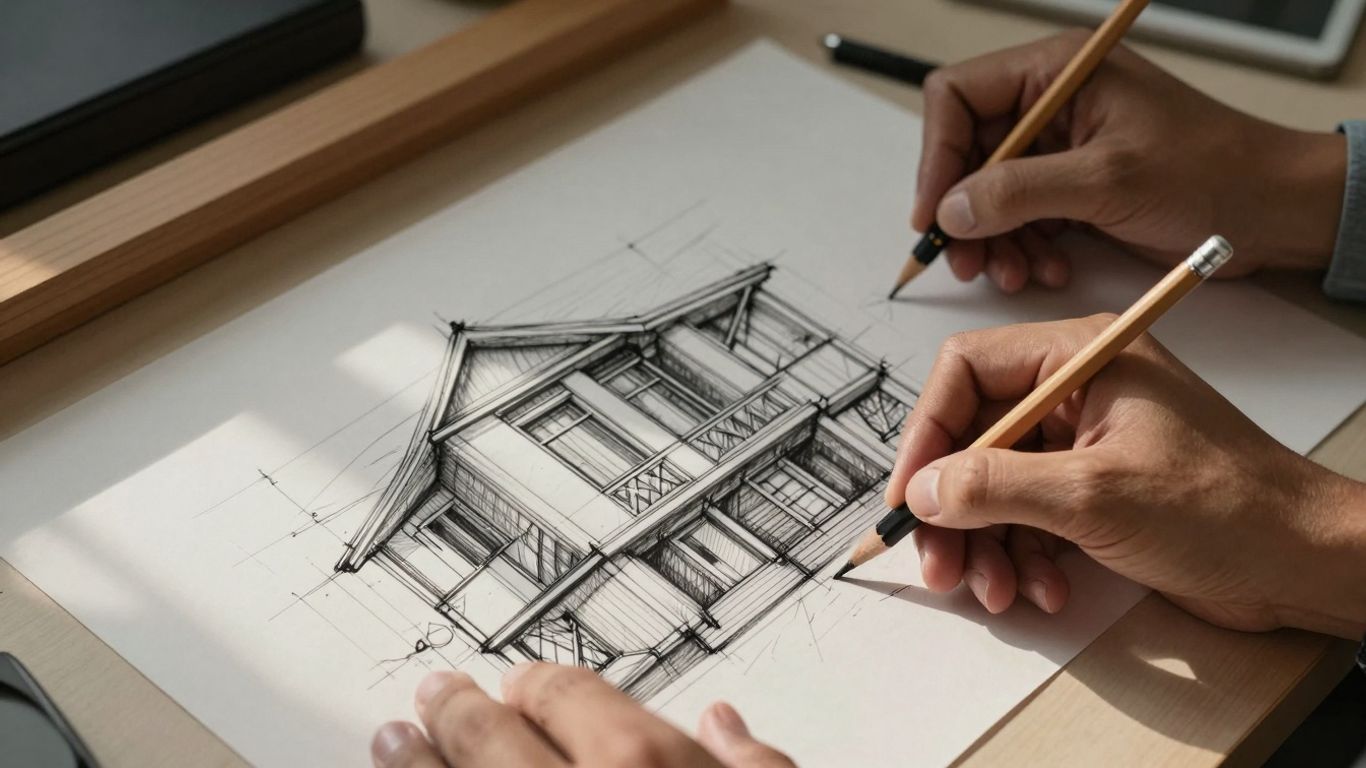
Practice the basics, constantly. Seriously, don’t skip this. Cubes, spheres, cylinders – get comfortable drawing them from every angle. This builds your understanding of form and space, which is the bedrock of everything else.
Study existing buildings. Don’t just look at them; draw them. Pick a building you like and try to capture its essence. How are the windows proportioned? What’s the roofline like? This is how you learn from the masters.
Incorporate people and context. A building doesn’t exist in a vacuum. Adding figures, trees, or even just a hint of the street helps show scale and how the design fits into the world.
Experiment with different tools. Pencils, pens, markers, even digital tools – each has its own feel. Find what helps you express yourself most clearly. Sometimes a quick pen sketch is all you need to get an idea across.
The key is consistent practice and observation. Don’t be afraid to make mistakes; they’re just part of the learning process. The more you draw, the more your hand and eye will work together, and the better your architectural visions will become.
Remember, drawing is a skill that develops over time. The goal isn’t perfection, but clear communication and a strong visual language. Keep at it, and you’ll see a real difference.
Keep Sketching!


So, we’ve gone over a lot of stuff, from picking out your pencils to making those buildings look like they’re actually standing on the page. It might seem like a lot at first, but remember, it’s all about putting in the time. Don’t get discouraged if your first few tries aren’t perfect – nobody starts out drawing like a pro. Just keep practicing, try out the different methods we talked about, and most importantly, have fun with it. You’ve got the tools now to start bringing your own architectural visions to life, one line at a time. Go ahead and start drawing!
Frequently Asked Questions
What’s the best way to start learning architectural drawing?
To begin drawing buildings, you should first get your drawing space ready and gather the right tools. Then, start building a collection of photos of buildings you like. Learning how to copy those photos onto your paper is the next big step. Don’t forget to practice making things look real with light, shadows, and textures!
Why is drawing important for architects?
Drawing is super important for architects because it’s how they share their cool ideas and designs. It helps them show others what they’re imagining and make sure everyone understands the plan before building starts.
What basic shapes should I practice drawing?
Start with simple shapes like boxes, balls, and cones. Getting good at drawing these helps you understand how to make things look 3D on flat paper. It’s like learning the alphabet before writing a story!
How can I make my drawings look more realistic?
To make your drawings look real, pay close attention to light and shadow. Think about where the light is coming from and how it hits the building. Adding shadows and different shades of gray or color can make your drawings pop and look like they have real depth.
Should I draw existing buildings or just imagine my own?
It’s a great idea to draw both! Looking at and drawing real buildings helps you learn how they’re put together and understand different styles. Then, you can use what you’ve learned to draw your own amazing creations.
What if my drawings aren’t perfect at first?
Don’t worry if your drawings aren’t perfect right away! Drawing is a skill that takes time and practice. Just keep trying, work step-by-step, and enjoy the process. Every drawing you make is a step towards getting better.
- 6.2Kshares
- Facebook0
- Pinterest6.2K
- Twitter0
- Reddit0